We found a website, www.laptopscreen.com, that claimed to have thousands of laptop screen replacements on hand. I found a 15.6" Widescreen WXGA (1366x768) HD Glossy LED replacement panel for $59.99 plus $17 for shipping and insurance. They also give it a three year warranty. Not a bad bargain considering Dell was out of stock and referred me to shopping results from a Google search. To Dell's credit, I received a part number for the display that made selecting the appropriate screen from laptopscreen.com easy.
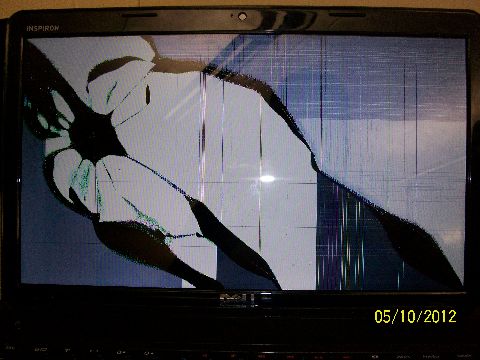
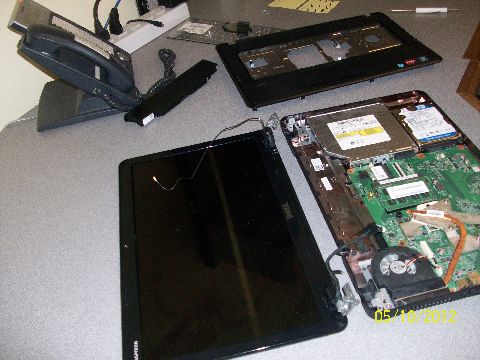
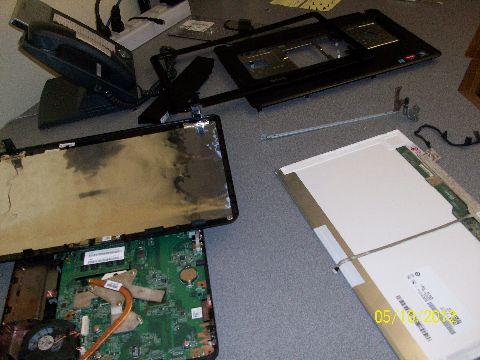
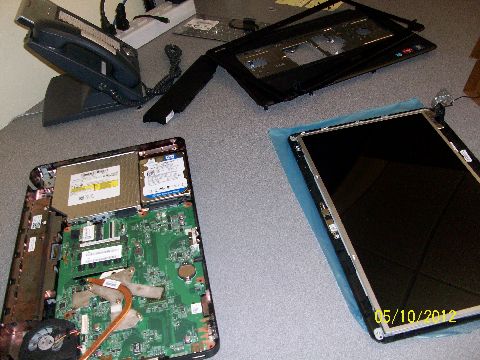
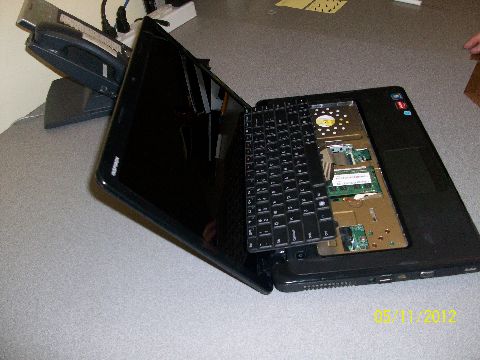
Last week I worked on a Dell Latitude and now from Dell's consumer line is their Inspiron M5030. This one had a good number more screws to deal with on the underside of the laptop but my trusty double sided screw driver was up to the task. As you can see below, the damage was significant. As always, refer to your manufacturer's documentation before undertaking a project such as this. Dell Inspiron M5030 Service Manual
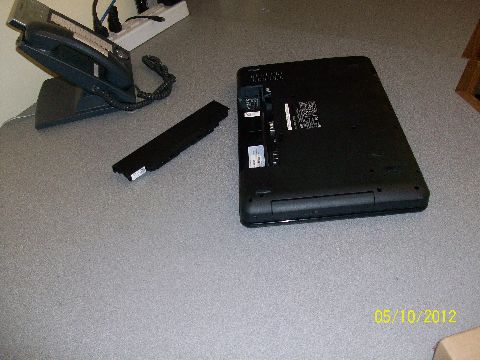
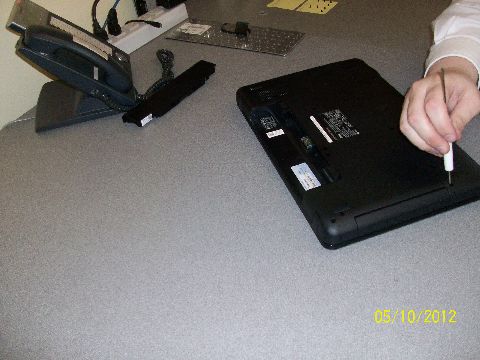
Start by pulling the battery from the system then pressing the power button. This makes sure any residual charge is purged from the laptop.
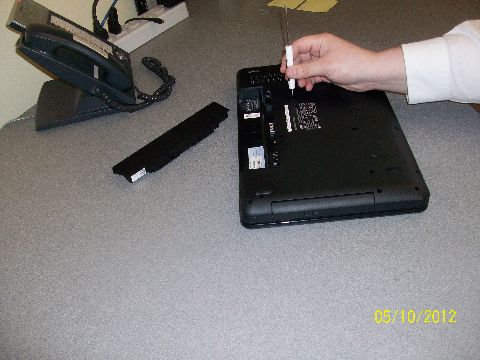
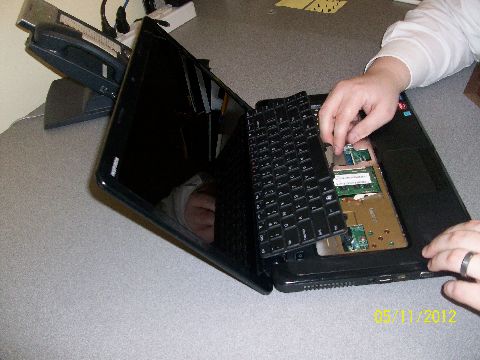
Unfasten the two screws that are holding the keyboard in place.
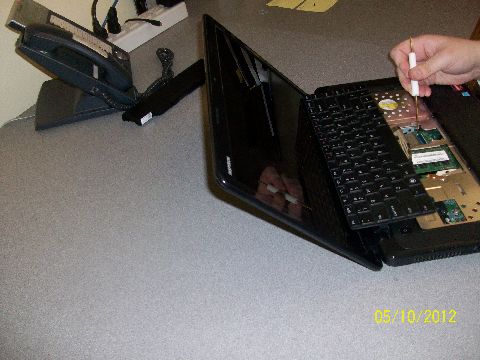
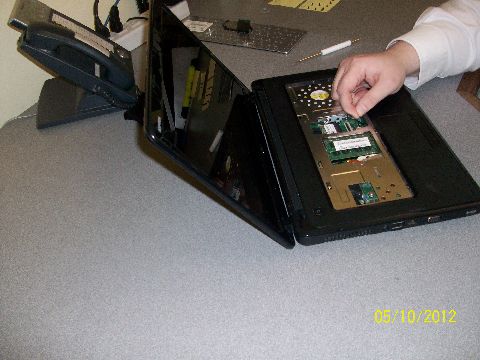
Gently pry up the keyboard from the F1-F12 row and slide back towards the screen. I used a small flathead screw driver. Underneath is a ribbon connector to the motherboard. Flip up the black retaining clip and gently pull out the ribbon cable.
Flip the laptop over again and unfasten the screws that are holding the palm rest and trim around the keyboard in place. This is a section I could have slightly deviated from the Dell instructions and gone ahead and removed two screws that hold the display brackets in place.
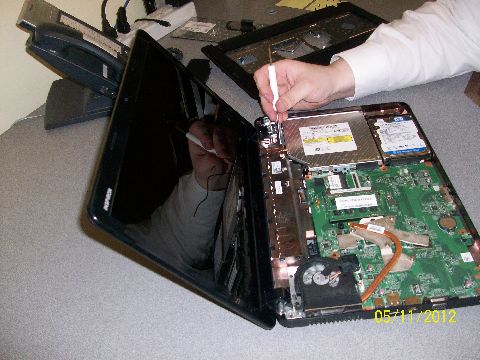
Now unseat three different items. One is a small speaker wire using pin connectors. The other two have blue pull tabs with black retaining clips. Lift up on the retaining clips and the blue tabs lift without issue.
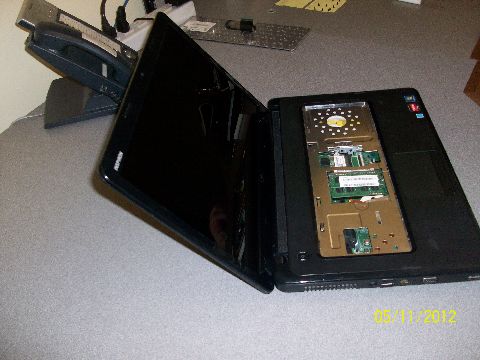
Gently pry up the palm rest and trim piece and put aside. I started from the top and worked my way down.
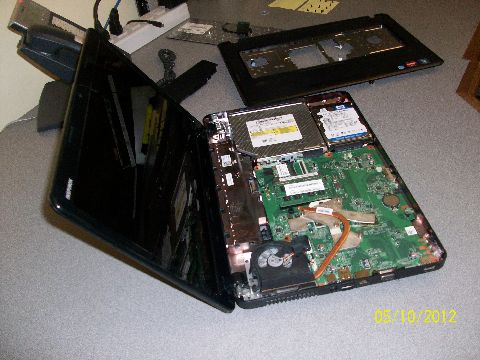
The last two screws are unfastened in order to lift the display panel away from the rest of the laptop. Again, this part could be performed earlier if desired.
Use caution when opening the laptop again. With all of the screws gone, the panel is loose and could be damaged by inattention. Unplug the Wi-Fi cable and display panel connector, taking care not to crimp cables or taking note of how the cables are routed. If possible, try to keep the tape on the display cable as this can be reused later.
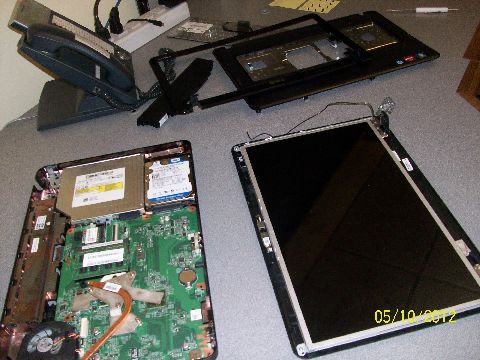
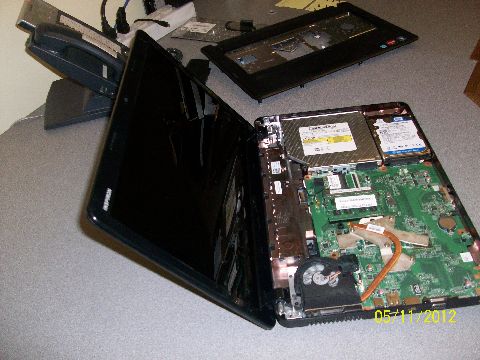
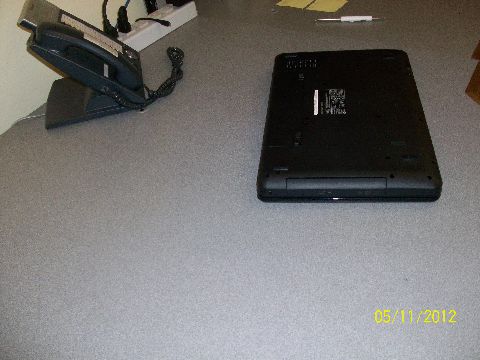
We are done with the bottom half of the laptop for the moment. Place to the side.
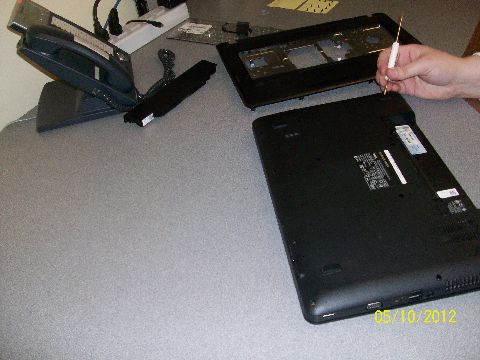
Using a flathead screwdriver, I gently pulled away the cable connecting the webcam to the rest of the system. Unfasten the six screws holding the display panel to the outer shell of the laptop. Note the WiFi cable stays with the outer shell.
Pull the display away from the shell and take note of where the display cable is run as well as the cable connecting the webcam.
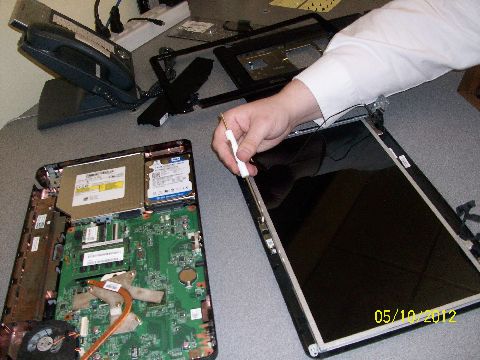
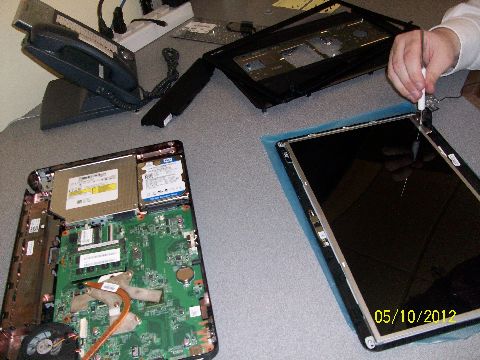
Unfasten the two brackets on either side of the display panel and set aside. At this point the display panel has been successfully extracted from the system.
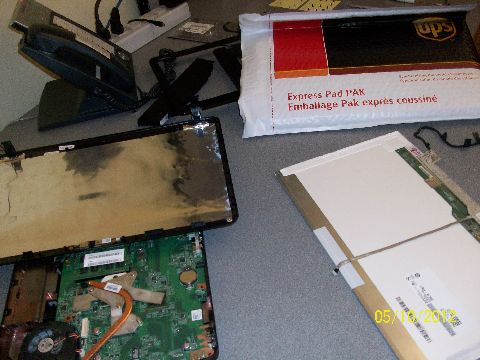
laptopscreen.com shipped the display panel out of Richmond, BC, Canada via UPS. The order was processed on Wednesday April 4th at 1 PM and arrived at our facility in Milwaukee, WI on Tuesday April 10th at about 10 AM.
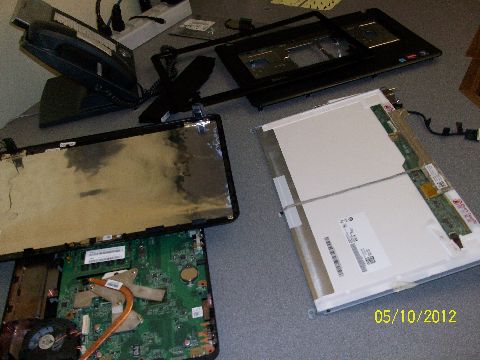
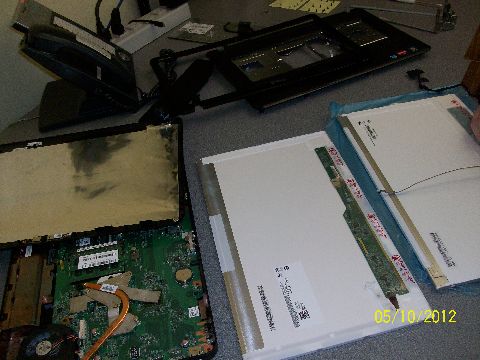
Unpackaging the new display, compare the two and see the parts that need to be scavenged from the old display. The webcam connector as well as the display connector need to be transferred over.

The cables are held down by a sticky substance but easily pulled up in order to rearrange and transfer to the new panel. Note the small connector that needs to be plugged in again.
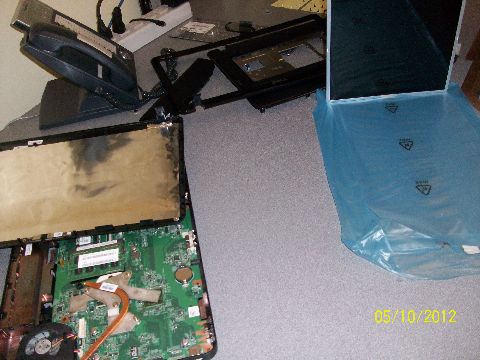
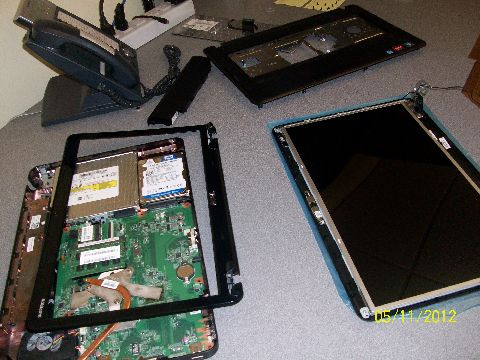
I kept the plastic covering on the screen as long as possible so I wouldn't scratch the new display as I was working with it.
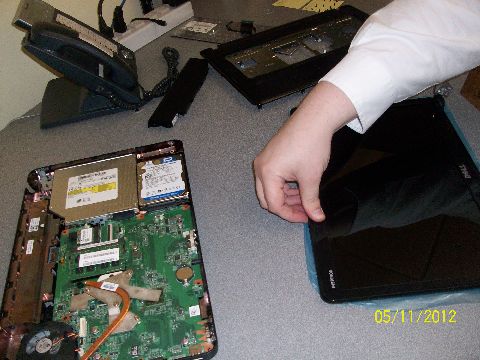
The brackets have now been reaffixed to the new display and the panel has been loosely fit into the top shell of the laptop again. Use this time to reconnect the webcam cable.
Fasten the six mounting screws again to reattach the shell and panel. Be sure the Wi-Fi cable does not get caught.
Ensure the display cable and Wi-Fi cable are routed to the outside of each hinge as we prepare to mount the display bezel back on.
Using steady pressure, snap the display bezel back on to the screen. I found starting from the top middle was effective for me. At the bottom where the hinges are, I felt like pushing down and towards me helped snap them in place.
Fit the upper laptop shell back onto the main body of the laptop and fasten into place two screws to provide stability for the next steps.

Route the Wi-Fi cable and the display cable back through the guides.
Both cables have now been affixed back into their proper positions.
Snap the palm rest trim back into place and reconnect the speaker cable and the two plus ribbon connectors. When they are slid into place, snap down the black retaining clips. Gently give them a slight tug once to ensure the cables are in place.
Place the keyboard ribbon back into place on the laptop motherboard and snap down the black retaining clip.
Be sure to snap down the black retaining clip or the keyboard connection may one day slide out of place.
Slide the keyboard spacebar side first down into the slots at the bottom and gently snap the top of the keyboard back into place. Some flex is normal but be sure the keyboard does not look wavy.

Put all of the screws back into place.

Slide the battery back into place.
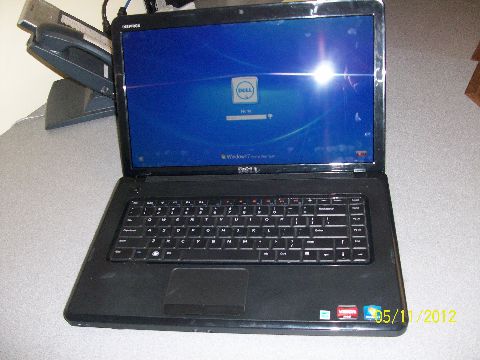
Open the laptop and press the power button.
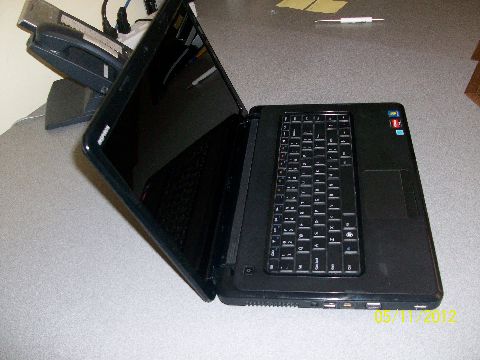
It's the Windows 7 boot up screen!
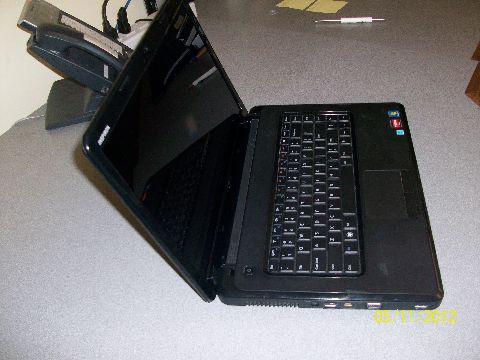
Success!
The Dell online documentation was invaluable fixing this problem.